1
Printed Documentation
•
•
•
•
•
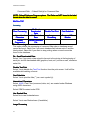
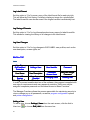
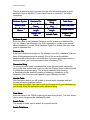
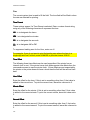
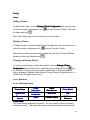
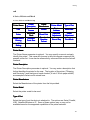
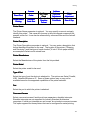
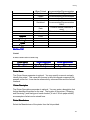
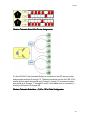
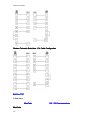
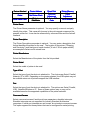
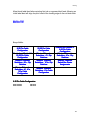
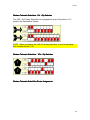
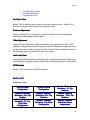
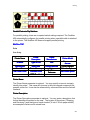
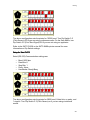
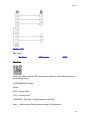
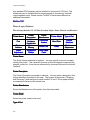
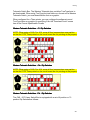
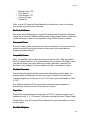
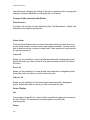
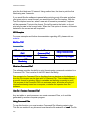
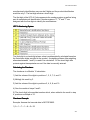
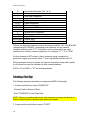
Diamond
Horizontal lines
Vertical Lines
Dots
Windows Wallpaper
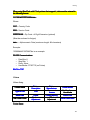
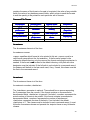
The choices vary based on the printer and shape chosen.
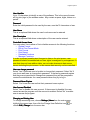
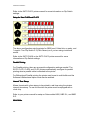
Gray Level
You will be presented with an on-screen list of available gray level shading
options.
This option appears when a Solid fill pattern is chosen for shapes other than
Regular polygon or Solid Polygon. The choices for gray level shading vary based
on the printer chosen.
Once you have finished entering the specification data for the field, the field can
be placed on the format.
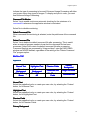
Polygons
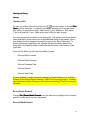
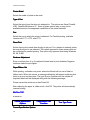
For placing a polygon field on the format, follow these steps:
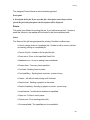
The following message will appear:
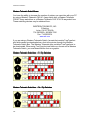
Move pointer to the CENTER of the polygon. Press ENTER or press and hold
mouse button.
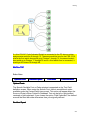
You may now move the pointer to increase or decrease the polygon size as well
as to change the rotation of the polygon. The polygon will appear on the display
as you use the mouse or arrow keys to expand or contract the area.
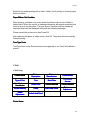
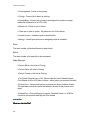
The following message will appear:
EXPAND BOX to proper size. Use arrow keys then ENTER or drag with mouse.
When you have expanded the polygon to the proper size, release the mouse
button or press ENTER. If the shape chosen is Regular Polygon, you will also be
prompted to expand the borders of the polygon to the proper thickness. The
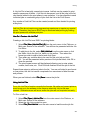
following message will appear:
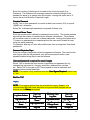
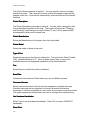
Adjust sides to proper thickness. Use arrows then Enter or drag with mouse.
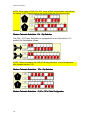
The left arrow will decrease the thickness of the polygon and the right arrow will
increase the thickness of the polygon. When the polygon is at the proper
82