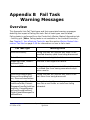
1
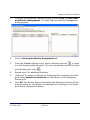
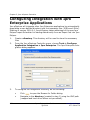
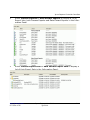
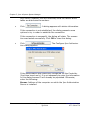
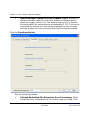
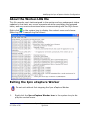
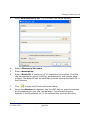
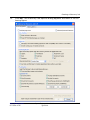
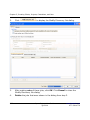
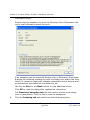
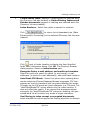
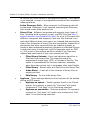
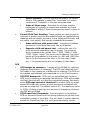
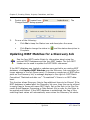
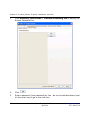
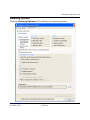
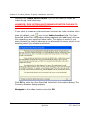
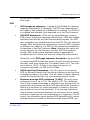
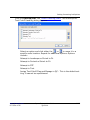
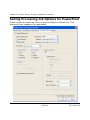
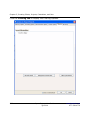
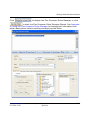
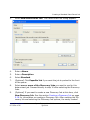
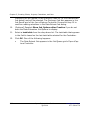
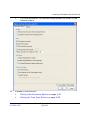
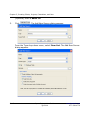
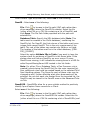
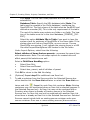
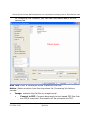
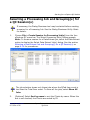
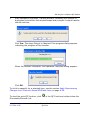
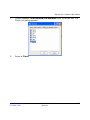
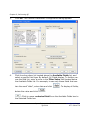
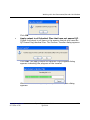
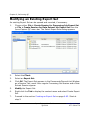
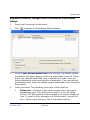
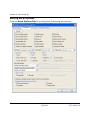
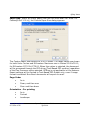
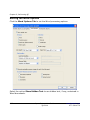
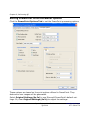
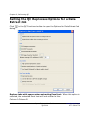
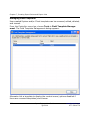
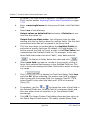
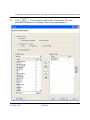
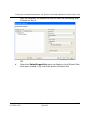
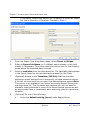
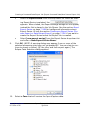
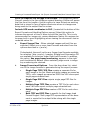
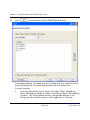
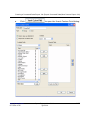
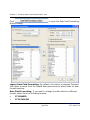
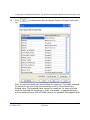
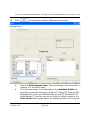
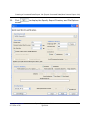
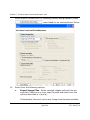
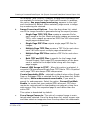
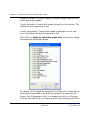
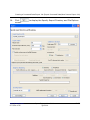
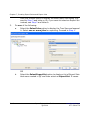
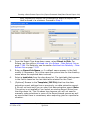
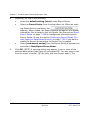
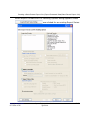
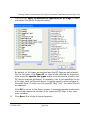
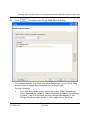
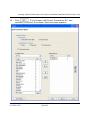
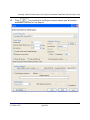
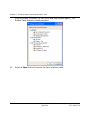
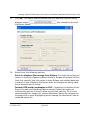
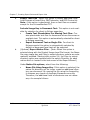
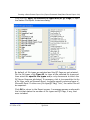
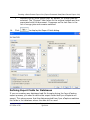
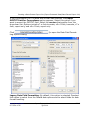
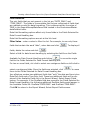
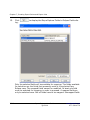
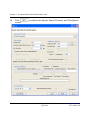
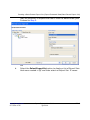
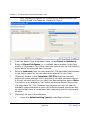
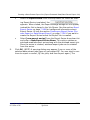
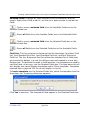
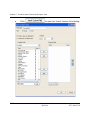
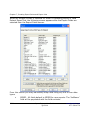
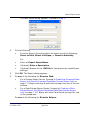
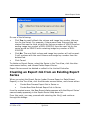
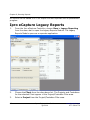
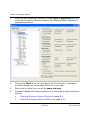
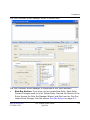
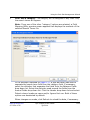
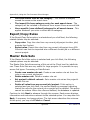
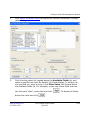
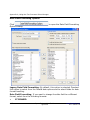
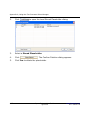
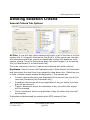
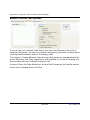
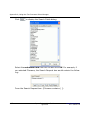
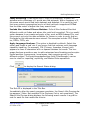
Chapter 7, Creating Export Series and Export Jobs
ple, to see only those fields that contain the word “date”, enter
date and click
click
c.
. To display all fields, delete the value and
.
Select a field and click
. The selected field appears in the
Selected Fields box and is placed in the previously selected
Endorsement box. Once a field has been selected for placement in
a zone, it cannot appear in a different zone. A total of three fields
may occupy a single zone. If a zone is to contain more than one
field, use the
or
to change the order of the fields in the
Selected Fields box in the active Endorsement Zone. Each field
appears in its own line in the Endorsement Zone.
d.
Note: When exporting a bar code, message text, and image key;
and the image key contains underscore delimiters, Ipro eCapture
displays a warning: Lowercase characters and underscores cannot
be combined with bar code endorsement.
To remove a field from an Endorsement Zone, select the Endorsement Zone, select the field in the Selected Fields box, and click
.
e.
To change the appearance (attributes) of a field in the Endorsement Zone, do the following: Select the Endorsement Zone,
select the field in the Selected Fields box, and click
to open
the Font dialog. Select a Font, Font Style, Size, Effects (Strikeout,
Underline), and Color. Click OK to close the Font dialog. Repeat for
additional endorsement fields.
Inserting Custom Group Fields
To insert custom group fields, see the section Inserting Custom Group Fields
on page 7-27.
7-40
Ipro eCapture User Guide
Q1 2014
www.iprotech.com
877-324-4776