1
Order from: Cutter Networks
Chapter 2
Installation and Setup
2.1 Introduction
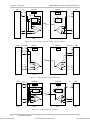
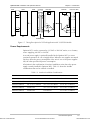
Optimux-XLT1 is delivered completely assembled. It is designed for installation as a
desktop unit or for mounting in a 19-inch rack. For rack installation instructions,
refer to the Rack Mounting Kit for 19-inch Racks guide that comes with the RM kit.
After installing the unit, refer to the Operation chapter for system operating
instructions. In case a problem arises, refer to the Troubleshooting & Diagnostics
chapter for test and diagnostics instructions.
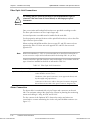
Warning
No settings of switches and jumpers, replacement of cards and cables or other
repairs may be performed by either the operator or the user. Such activities
may be performed only by a skilled technician who is aware of the hazards
involved.
Always observe standard safety precautions during installation, operation, and
maintenance of this product.
2.2 Site Requirements & Prerequisites
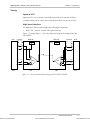
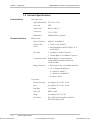
AC-powered Optimux-XLT1 units should be installed within 1.5m (5 ft) of an easily
accessible grounded AC outlet capable of furnishing a supply voltage in the range
of 90 to 260 VAC.
DC-powered Optimux-XLT1 units require -36 VDC to -72 VDC or 21.4 VDC to
26.4 VDC power source according to order. Verify that the input voltage at the
end of the power cable is within the above limits
Allow at least 90 cm (36 in) of frontal clearance for operator access. Allow at least
10 cm (4 in) rear clearance for interface cable connections.
When planning the routing of fiber optic cables, avoid sharp bends. The bending
radius should exceed 30 mm (1.2 in).
The ambient operating temperature of Optimux-XLT1 should be 0°C to 45°C
(32°F to 113°F) at a relative humidity of up to 90%, non-condensing.
Site Requirements & Prerequisites
Ph:727-398-5252/Fax:727-397-9610
2-1
www.bestdatasource.com