1
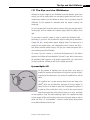
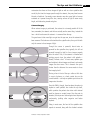
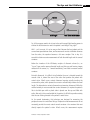
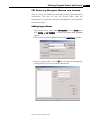
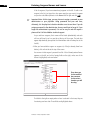
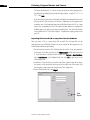
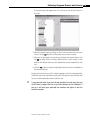
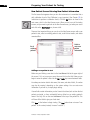
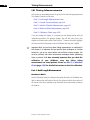
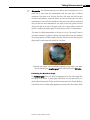
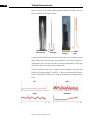
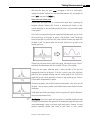
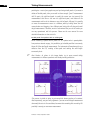
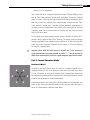
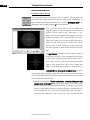
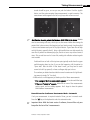
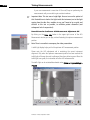
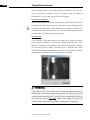
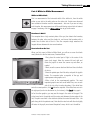
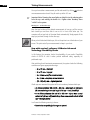
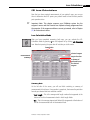
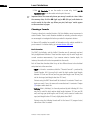
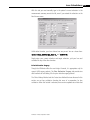
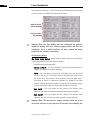
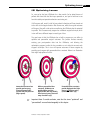
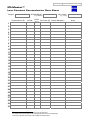
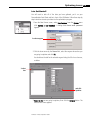
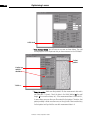
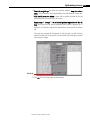
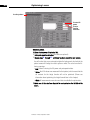
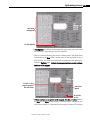
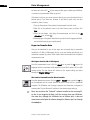
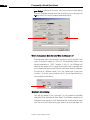
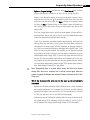
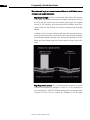
Taking Measurements
4-11
If the SNR is of borderline quality (between 1.6 and 2.0, inclusive), a yellow
“caution light” will appear above it and a numeric AL value will appear in the data
column, but it will have an exclamation mark (“!”) after it.
If the SNR is high enough (above 2.0), a green “go light” will appear above it and a
numeric AL value will appear in the data column as normal.
☞
Important Note: A high SNR does not necessarily mean you have a good
scan. A blink, for instance, often produces a very high SNR because the
distance between the highest peak and the “bottomed out” background
static is quite a lot. Another possibility is having a great central spike
height—and thus a good SNR—but retinal pathology causes the peak to be
split in two, providing the wrong results. In short, the SNR is relevant only
when taken in conjunction with the appearance of the graph.
✐
Best practice: After you have taken 5 measurements, if you don’t have a “green
light” above the SNR value, you should take more measurements until you do have
a “green light.”
☞
Important Note: Because IOLMaster measures with a laser, the system will
allow you to attempt the measurement up to twenty times. Even if you delete
some measurements, the system still will prevent you from acquiring more
than twenty measurements per eye each day.
Some practices regularly take all twenty measurements instead of taking only the
required five. Once you have become practiced and efficient at obtaining axial
length measurements, it only takes a few more seconds to acquire all twenty
measurements, compared to the required five. This increases your likelihood of
obtaining a valid reading, and also improves your skills in obtaining good scans.
As you are taking measurements, intentionally move the spot of light around in the
green circle and take each measurement at a new location. Depending on the type
and density of the cataract, some areas may be easier to measure through than
others. There are two ways to tell if one area of the green circle is better for
scanning through than another: looking at the waveform graph shape, and looking
at the SNR number.
Pictured at left are two simple patterns you could use to acquire multiple
measurements through different locations. The first is a clockwise pattern starting
at the top. The second is a zigzag pattern in which you slide to opposite sides of
the circle. There is no right or wrong order—if you even have an order at all—but
having one can help you remember which location works best for that eye.
IOLMaster: A Practical Operation Guide