1
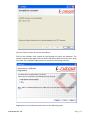
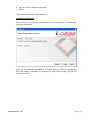
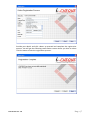
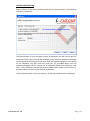
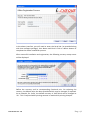
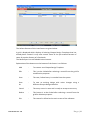
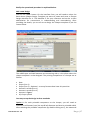
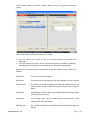
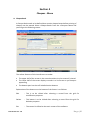
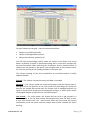
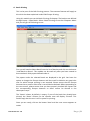
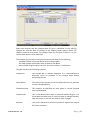
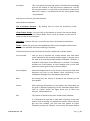
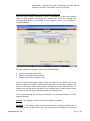
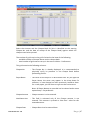
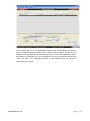
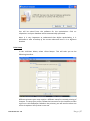
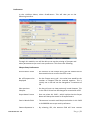
proceeding. Cheques that have already been printed will be shown as ‘Printed’ in the Status column of the grid. Verification & Confirmation of proper printing of Cheques After the ‘Print Cheque’ command is given, subsequently, in the next interface screen a grid appears containing the cheque nos. used for printing with corresponding details as provided in the previous screen. This interface is illustrated below: For each Cheque on the grid – there are three possibilities: Cheque is printed successfully Cheque is damaged while printed Cheque has not been printed at all You will need to accordingly specify under the column ‘Print Status’ one of the above. By default ‘Printed’ is selected assuming that in most cases cheques will be print successfully. After confirming for all cheques, click on ‘Confirm & Exit’. If cheques are still present in the queue, you are again back to the previous screen for continue printing of the pending cheques in the same way. The system handling of the three possibilities as mentioned above is briefly explained below: Printed – The cheque is printed correctly and data is recorded Damaged – The cheque could not be printed properly and the cheque leave is damaged and is not good for re-use. The system will accordingly not record the Document Ver: 1.0 P a g e | 41