1
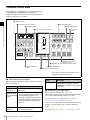
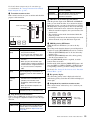
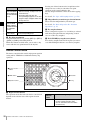
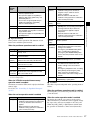
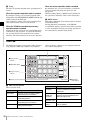
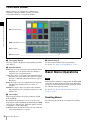
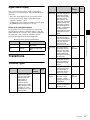
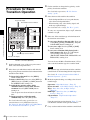
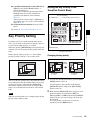
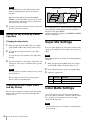
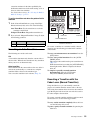
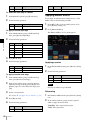
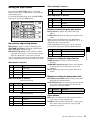
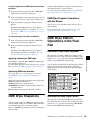
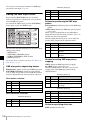
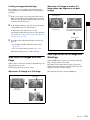
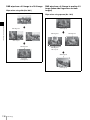
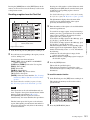
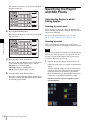
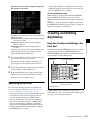
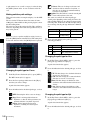
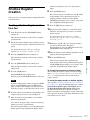
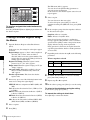
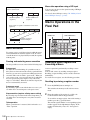
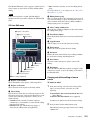
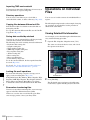
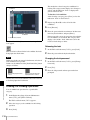
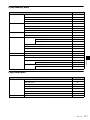
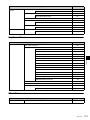
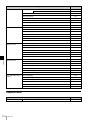
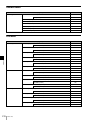
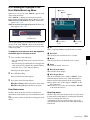
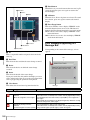
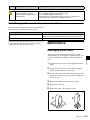
The entered register number or corresponding register
number appears in the alphanumeric display. If the
number is followed by a letter “e” or “E,” this indicates
the following.
e: Indicates the selected register is empty for the
regions selected in step 2 .
E: Indicates that the corresponding register is empty in
all selectable regions.
4
Pad. Alternatively, make the setting in the Cueup &
Play menu.
If no setting is required, continue to step 10.
10 Press the [STOR] button in the Flexi Pad.
11 Enter the register number to save with the numeric
keypad buttons.
Press the [ENTR] button.
When overwriting the settings in the register recalled
in step 3, entering a number is not required.
This recalls the register you specified in step 3.
5
When using the device control block, press the [DEV]
button, turning it on.
12 Press the [ENTR] button.
Automatically running cue up and play
Chapter 10 External Devices
Notes
Check that the [MENU] button is not lit. If it is lit,
press to turn it off.
6
With the buttons in the device control block, select the
VTR, Extended VTR, or disk recorder for which you
want to make the setting.
By recalling a register in which you have saved setting data
for Cueup & Play, you can control the VTR/Extended
VTR/disk recorder automatically in the same way as when
automatically executing a keyframe effect.
1
2
You can select more than one button.
The first button pressed lights green as the reference
device, and subsequently pressed buttons light amber.
7
Set the start point.
• Using the [START TC] button: Play the VTR,
Extended VTR or disk recorder by control from the
device control block. Find the desired start point,
and press the [START TC] button at that position.
Each time you press the button the start point
timecode is overwritten.
• Setting with the Cueup & Play menu: Set the start
point, stop point, and start delay duration
(1 p. 138).
8
9
138
To set a start delay time, press the [DELAY] button in
the device control block, and enter a value in the Flexi
Control of VTRs, Extended VTRs, and Disk Recorders
Press the button corresponding to the region you want
to select, turning it on.
You can select more than one button.
3
4
Enter the number of the register to be recalled with the
numeric keypad buttons.
Press the [REWIND] button.
The VTR/Extended VTR/disk recorder automatically
advances to the timecode value set as the start point.
While the VTR/Extended VTR/disk recorder is
operating, the [ALL STOP] button in the device
control block flashes amber, and when the start point
is reached lights green.
If the operating VTR/Extended VTR/disk recorder is
selected as the reference region in the device control
block, the [CUE] button also flashes and lights in the
same way as the [ALL STOP] button. Also, when the
start point is reached, the [STOP] button lights amber.
Set the stop point.
Setting the start point and stop point automatically
determines the duration.
• Using the [STOP TC] button:
Play the VTR, Extended VTR or disk recorder by
control from the device control block. Find the
desired stop point, and press the [STOP TC] button
at that point.
Each time you press the button the stop point
timecode is overwritten.
• Setting with the Cueup & Play menu:
Set the start point, stop point, and start delay
duration (1 p. 138).
In the Flexi Pad, press the [EFF] button, turning it on.
5
Press the [RUN] button.
The VTR/Extended VTR/disk recorder is now
controlled according to the keyframe data.
Setting the start point, stop point, and
start delay time in a menu
1
Open the Device >DDR/VTR >Cueup & Play menu
(5331).