1
Using the Multi-Layaway option
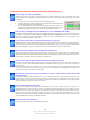
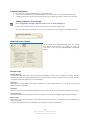
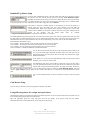
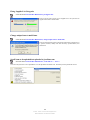
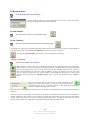
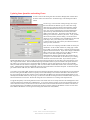
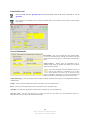
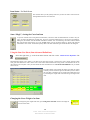
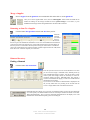
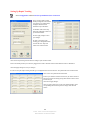
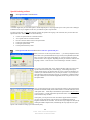
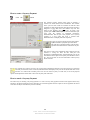
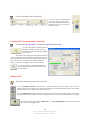
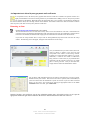
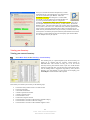
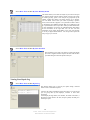
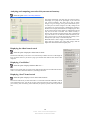
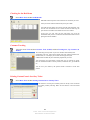
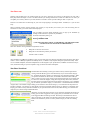
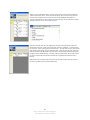
If a customer wants to lay away multiple items, or bind an item
without attaching money to the item, you can use the MultiLayaway option. To use this option, simply click on each item that
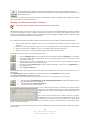
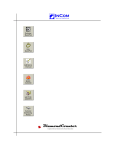
the customer wants to lay away and click the star button that is on
top of the standard Layaway button. The item will then be placed
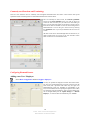
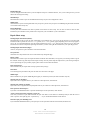
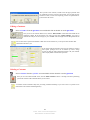
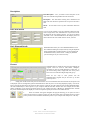
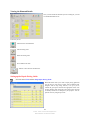
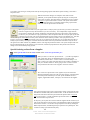
on layaway for that customer. At this point, if the customer wants to put money down on all
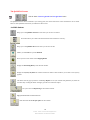
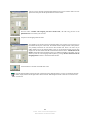
items on the list, simply click on each item on the list once so it turns orange. This means
that the item is selected. Then simply put the amount of money that is being spread out evenly over the items in the box at the
top of the screen, select the payment method, enter your clerk name and click the ‘Continue, Process This Payment’ button. The
payment amount will then be spread evenly over all of the selected items on the list, according to how much money is owed on
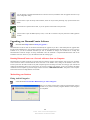
them and how much the item is worth. You can also apply individual payments to items by clicking the payment box on the
right-hand side of each item, and entering in a specific amount. Once this has been done, simply choose your payment method,
enter your clerk name and click the ‘Continue, Process This Payment’ button again and the payment will be applied.
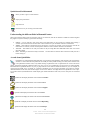
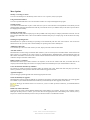
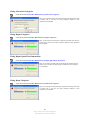
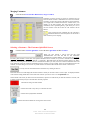
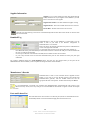
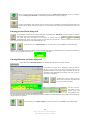
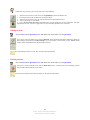
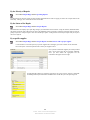
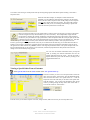
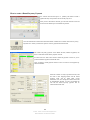
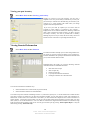
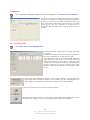
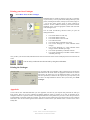
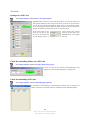
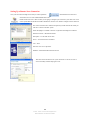
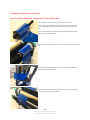
To view the items that a customer has on Multi-Layaway, simply click the ‘Multi Layaway’ star button on the
right-hand side of the Customer QuickPick or Item QuickPick screens to view the list, or to make a new payment.
Using the Wish List
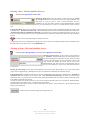
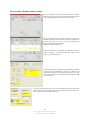
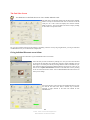
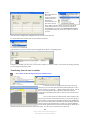
Add an Item in the Wish List
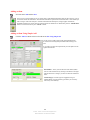
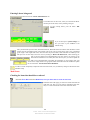
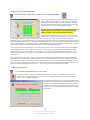
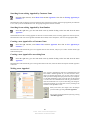
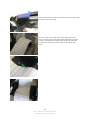
Select the appropriate customer, then item and then click the menu Wish List, Add Item to Wish List
View an Item in the Wish List
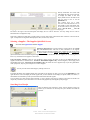
There are two methods to view the wish list
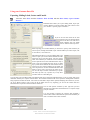
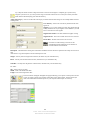
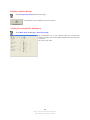
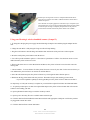
1. Select the appropriate customer, and then click the menu Wish List, View Wish List
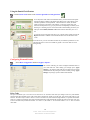
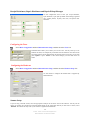
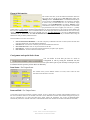
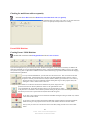
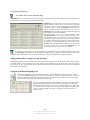
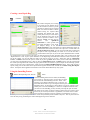
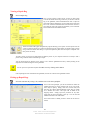
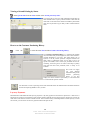
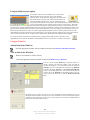
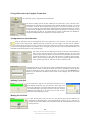
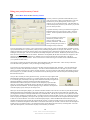
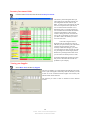
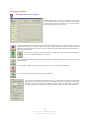
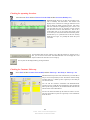
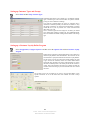
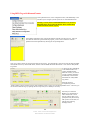
You can use the function Wish List to memorize items for a
specific customer. The item will remain in this list until the
customer has bought it or you have deleted it from the customers
Wish List. You can scroll between all the items in the Wish List
by clicking the button ‘Previous’ or ‘Next Item in the Wish List’
until you see the appropriate item. Now you may add the item the
customer has in the Wish List to the shopping basket or you can
remove it from the Wish List by clicking “Remove Item from
List”.
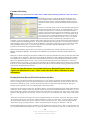
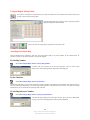
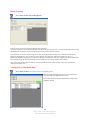
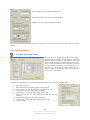
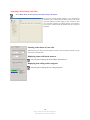
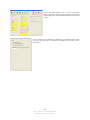
The Wish List of a customer can also be view from the detailed customer information screen by
clicking the wish list button on the top menu or if you would like to view the wish list with a picture
provided you have entered one for the item go to the side menu. You can print a detailed wish list
picture for the customer from this section.
62
© 2002 - 2008 - InCom Technical Solutions Inc.
DiamondCounter User Manual 9th Edition