1
BALANCING THE MODEL
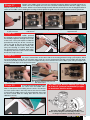
Stage 38
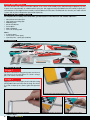
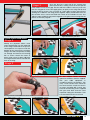
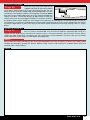
Attach the wing using all the rubber bands
supplied, (although we do recommend the
use of white, silicon bands as they resist fuel and last longer. You can
obtain them from your local model shop) stretched diagonally across the
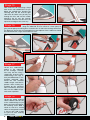
wing dowels. Now hold the model on your fingertips at a position 80mm
back from the the leading edge of the wing. The model should balance
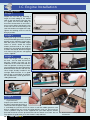
slightly nose down. The receiver battery (or flight battery if flying with
electric power) can be moved slightly forwards or rearwards to achieve
this balance point without adding any extra weight. The importance of achieving the correct balance point cannot be
overstated. It is essential the model balances correctly before attempting to fly it! This check should always be carried
out with the flight battery in place when flying it with electric power and with the tank empty if flying it with I.C. engine
power.
FLYING THE TUTOR 40 II
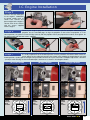
Always fly the model in a safe and suitable location, away from houses, people and power
lines. It is always recommended that you enlist the help of a competent pilot and fly at a
recognised club. Before flying, check that the controls move in the correct direction, and the correct amount. Always
charge your radio equipment in accordance with the manufacturer’s recommendations and ensure that you are familiar
with the operation of your engine or motor before attempting to fly.
Stage 39
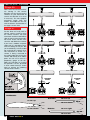
SAFETY
Always keep your hands and clothing clear of the spinning propeller. Fly safely and always maintain your model in good
condition by thoroughly cleaning the airframe between flying sessions and checking its condition before flying and
especially after a heavy landing.
NOTES
Irvine Tutor 40 II
15