1
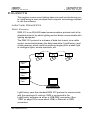
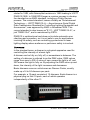
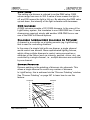
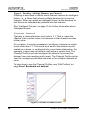
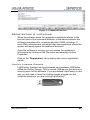
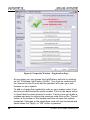
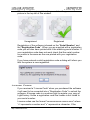
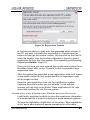
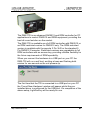
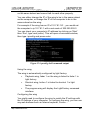
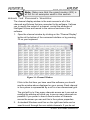
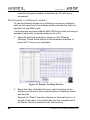
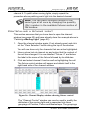
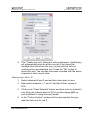
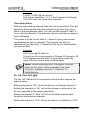
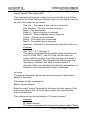
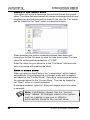
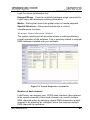
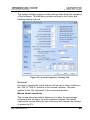
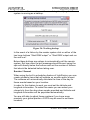
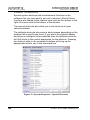
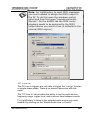
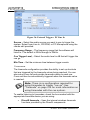
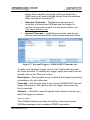
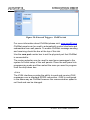
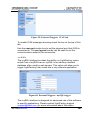
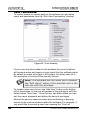
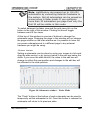
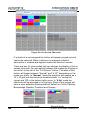
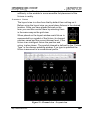
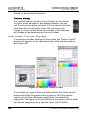
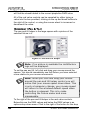
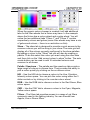
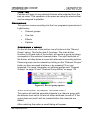
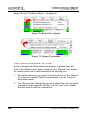
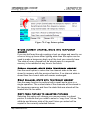
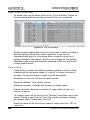
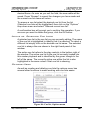
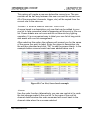
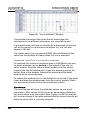
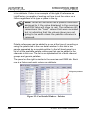
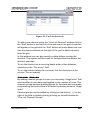
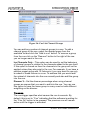
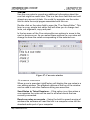
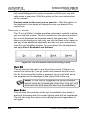
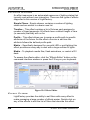
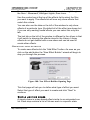
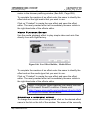
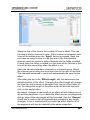
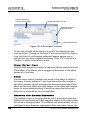
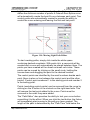
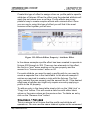
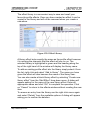
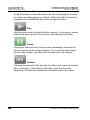
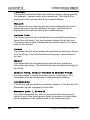
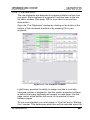
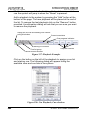
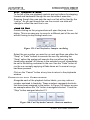
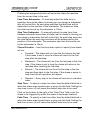
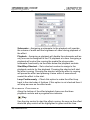
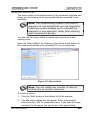
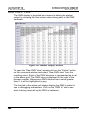
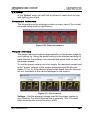
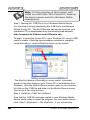
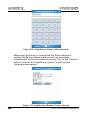
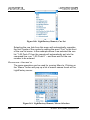
LightFactory V2
A Guide for Users
Reference/Window Overview
Channel Display
Just above the layout panel (black area of the window) is tool bar
that is used to edit the layout and insert fixtures onto the view.
Figure 52: Layout view tool bar
New – Click on the “New” tool button to start a blank layout.
This will clear all of the fixtures from the layout view (fixtures will
remain patched in the system) provide a blank page to work with. A
dialog box will prompt to confirm the “New” operation as this cannot
be undone.
Open – Click on the “Open” button to load a saved layout and
replace the layout currently shown.
Save – The current layout is always stored along with your
show however if you want to have several layouts you can save it to
a file on the hard driver separate to the show. Click on a save
button and a standard windows save dialog box will appear.
Print – Use the print option to print a hard copy of the layout on
a system printer.
Zoom – Use the zoom option to modify the size of the view
on screen. If the zoom is to too large to fit all of the fixtures on
screen then the scroll bars can be used to move around the layout.
Edit Mode – Toggle the edit mode button to change the
position of the fixtures in the layout view. With the edit mode off the
fixture cannot be moved around.
Grid – To help line up fixtures in the layout view a grid can
be turned on. The fixtures will snap to the dots in the grid when
repositioning them.
New Tab – To help manage a large number of fixtures in
the layout view you can create tabs that will allow you to quickly
switch between views. Clicking on the “New Tab” button will prompt
you for the name of the tab. Tab names can be edited at any time
by double clicking on the tab. To remove a tab from the system click
142
© 2004 - 2010 Dream Solutions Ltd