1
CoPilot User’s Manual
Route Form
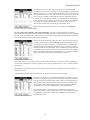
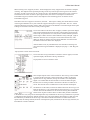
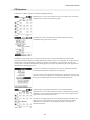
16. If a blank leg separates two legs on the Route form, the calculations assume that there are two flights.
The time and fuel to climb, and the start/taxi fuel, is added for the second leg.
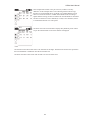
17. Any leg can be dragged to a new location on the Route form by dragging the button with the stylus. The
new leg position must be consistent with any adjacent legs.
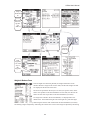
18. A waypoint can be deleted by tapping on the tiny button before the waypoint.
19. A waypoint may be changed by tapping on the tiny button before the waypoint.
20. A new waypoint may be inserted before an existing waypoint by tapping on the tiny button before the
existing waypoint.
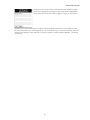
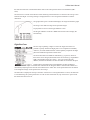
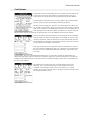
21. Tap on an ident on the Route form to see more information about the waypoint. If the waypoint
information has scrollbars, the page up/down buttons can be used to scroll by one page.
22. Tap on a line of leg information on the Route form to see more information about the leg. The page
up/down buttons scroll to the previous/next leg.
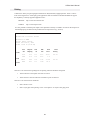
23. The columns on the Route form can be configured by tapping on the column header and choosing what to
display
24. The direction of an entire route can be reversed using the Reverse Route menu item on the Route menu.
Edit Leg Form
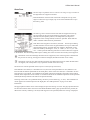
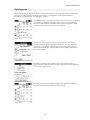
25. When entering an ident on the Edit Leg form, it is possible to stop when enough letters have been entered
to uniquely identify the waypoint. The waypoint has been uniquely identified when the correct waypoint
description appears.
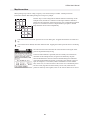
26. The page up/down buttons can be used to switch to the next or previous leg.
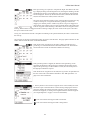
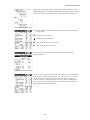
27. When the OK button in the Edit Leg form is tapped (or the leg is scrolled to the another leg with the
scroll buttons), the information about the leg (altitude, wind, pressure, temperature) is saved. This data
can be applied to a new leg using the Previous button. This button is only visible if information has been
saved.
28. A combination of the last two tips can be used to quickly change the leg information (altitude, wind,
pressure, and temperature) for an entire trip. Open the first leg and enter the data. Use the page down
button to go to the next leg. Tap the Previous button to update the second leg with the data from the first
leg. Keep doing this until all of the legs have been updated.
29. The leg-scrolling feature can be used to quickly enter an initial route. After entering the first leg, instead
of tapping the OK button, use the page down button to scroll to the next leg and enter the next waypoint
(and leg data with the Previous button). Continue in this manner until the entire route is entered.
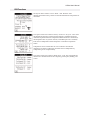
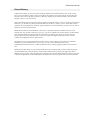
30. Swap the To and From waypoints in the Edit Leg form using the Swap button. This button is only visible
if the waypoints can be swapped without affecting the adjacent legs.
31. If the From and To waypoints are the same, the leg is considered a ground leg and the duration of the
stop can be entered.
25