1
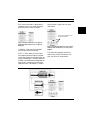
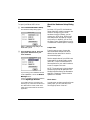
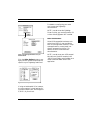
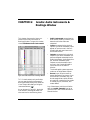
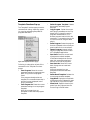
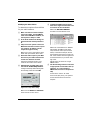
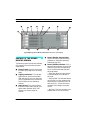
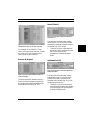
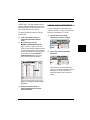
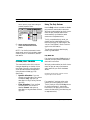
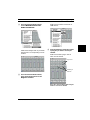
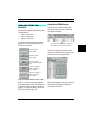
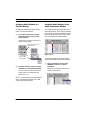
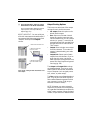
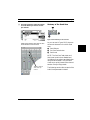
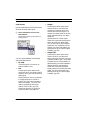
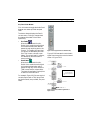
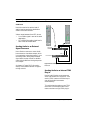
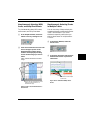
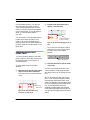
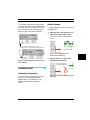
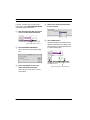
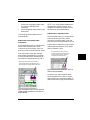
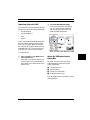
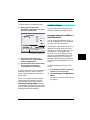
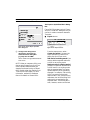
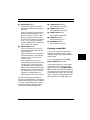
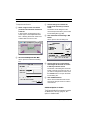
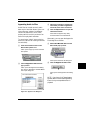
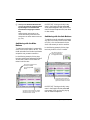
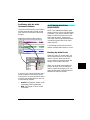
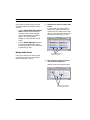
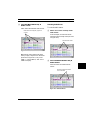
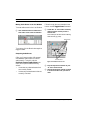
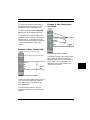
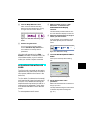
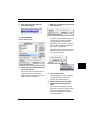
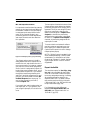
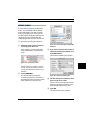
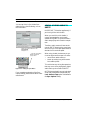
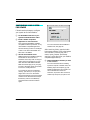
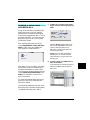
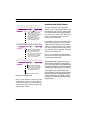
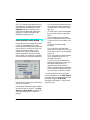
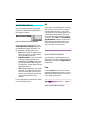
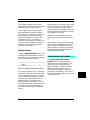
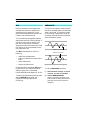
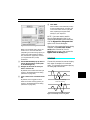
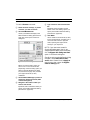
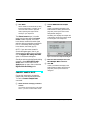
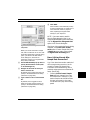
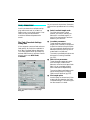
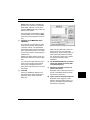
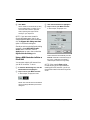
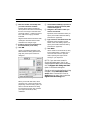
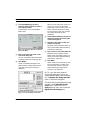
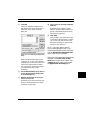
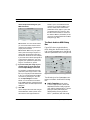
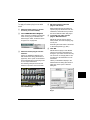
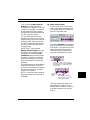
CHAPTER 34: DSP Menu: EQ and Fade/Crossfade
Creating Automatic Fade-ins
To create a fade-in whose length is based
on your selection, apply a technique similar to the one discussed previously,
except you should select the first part of
an audio event (or events) before choosing DSP>Fade/Crossfade.
Creating Manual Fades
To create fade-ins and/or fade-outs of any
length:
햲 Select some audio.
햳 Choose DSP>Fades/Crossfades.
Unless you disabled its display in the
DSP Preferences dialog (discussed on
page 423), Vision opens the Fade/
Crossfade Settings dialog box.
햸 Choose the desired file length option
as discussed in File Length Option
(pg. 370), then click OK.
Unless you disabled its display in the
DSP Preferences dialog (discussed on
page 423), Vision opens a Save As
dialog box.
햹 Configure the Save As dialog box as
discussed in Creating Automatic
Fade-outs (pg. 371), then click Save.
Vision creates a new audio file for the
faded audio. It creates one or more new
audio events to play that audio file,
replacing the original audio event(s) in
your sequence.
NOTE: When you process multiple, whole
audio events, Vision applies the same fade
times to all the selected events.
햴 From the top pop-up menu, select
All events will be processed with the
same fade-in and/or fade-out times.
Manually.
햵 Type the desired fade lengths into the
Fade/Crossfade Settings dialog.
햶 Select the desired fade-in and/or
fade-out shapes from their pop-up
menus.
햷 Make sure the crossfade option is
disabled.
If you want each audio event to have a different fade time, use the Fade/Crossfade
command on only one audio event at a
time.
Vision & Studio Vision Pro — Audio Reference Manual
373