1
The Timeline
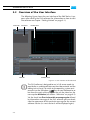
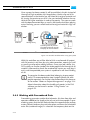
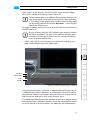
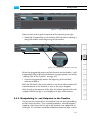
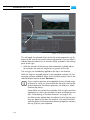
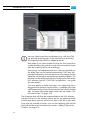
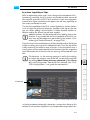
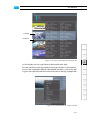
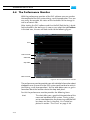
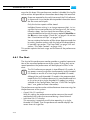
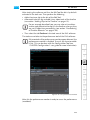
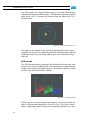
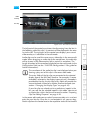
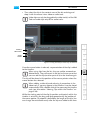
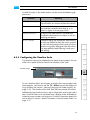
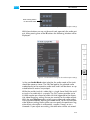
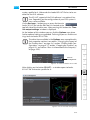
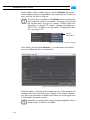
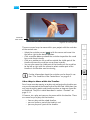
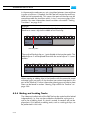
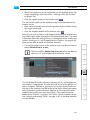
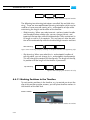
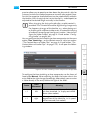
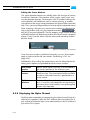
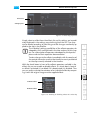
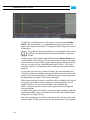
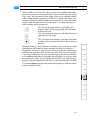
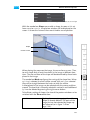
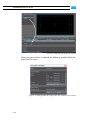
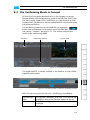
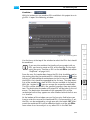
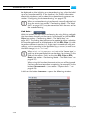
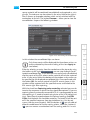
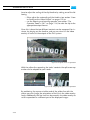
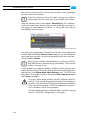
y Then select the clip in the contents area of the bin and drag and
drop it with the mouse into a video or audio track.
Video clips can only be dragged to the video track(s) of the Edit
Tool and audio clips only to the audio tracks.
1
timeline
video track
2
audio
tracks
3
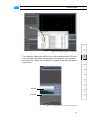
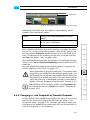
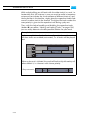
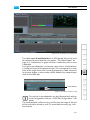
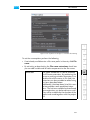
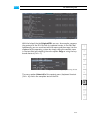
Figure 6-2: Drag and drop of video clip to timeline
4
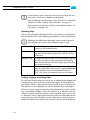
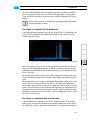
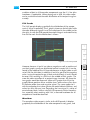
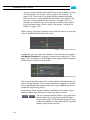
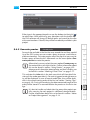
Once the mouse button is released, a representation of the clip is added
to the timeline.
5
When using clips from the bin, they are neither removed nor
deleted there. They will remain in the bin for future use so that
you can add the clip (or other parts of it) to the timeline again.
6
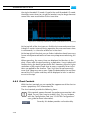
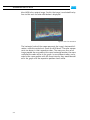
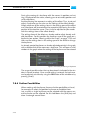
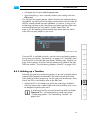
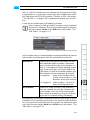
The clip will be placed at the position of the mouse pointer where the
mouse button was released.
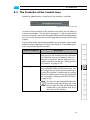
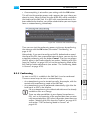
When adding a video clip and releasing it somewhere in the
video track, a gap may appear in the timeline. It can be closed
automatically with a double-click of the mouse on the timeline
scale (see also section “Moving Clips within the Timeline” on
page 6-38).
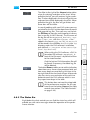
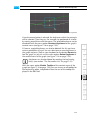
While the starting point of the clip (its position and inpoint) within the
timeline is set during the drag-and-drop procedure by the position of
the mouse pointer, its outpoint is defined by the length of the clip. You
can change these attributes easily after the clip was added to the time-
6-3
7
8
9
A
I