1
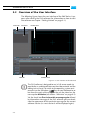
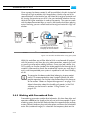
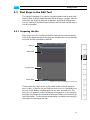
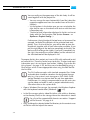
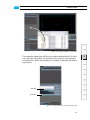
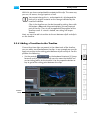
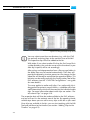
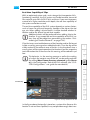
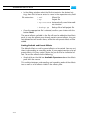
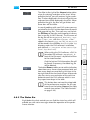
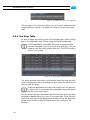
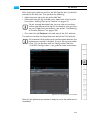
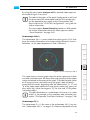
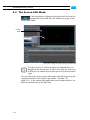
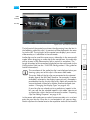
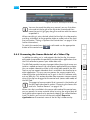
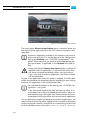
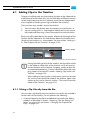
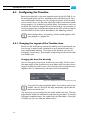
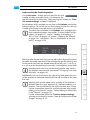
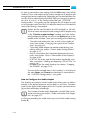
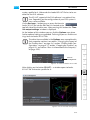
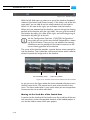
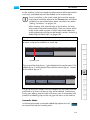
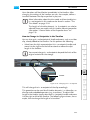
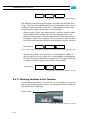
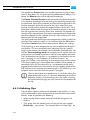
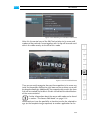
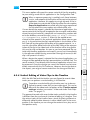
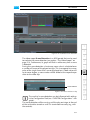
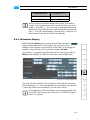
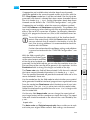
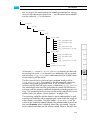
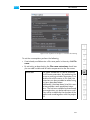
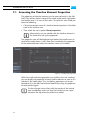
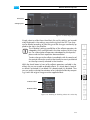
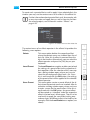
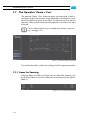
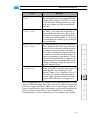
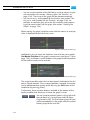
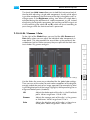
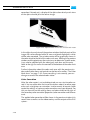
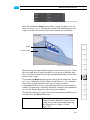
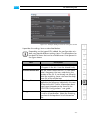
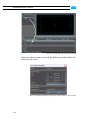
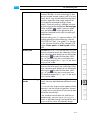
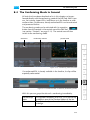
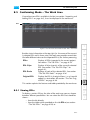
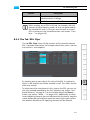
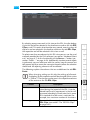
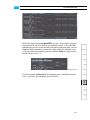
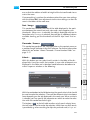
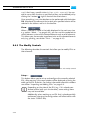
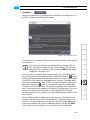
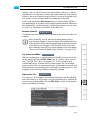
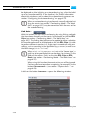
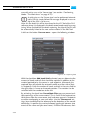
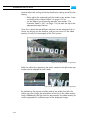
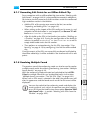
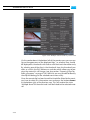
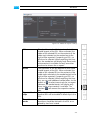
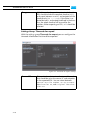
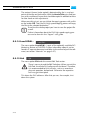
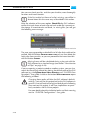
The Timeline
Range of clips
A range of adjoining clips can be selected by
clicking one clip (the starting clip) and afterwards holding down the [Shift] key while clicking the clip that marks the end of the range.
You can also select a range of clips by drawing
a rectangle with the mouse over the clips that
you want to select. The starting point of the
rectangle has to be on an empty part of the
timeline track.
Figure 6-39: Drawing a selection rectangle
All clips
All clips in the timeline area can be selected in
one step by using the menu option Select all
of a timeline track’s context menu.
1
2
3
6.4.3 Cutting, Copying or Pasting Clips
Bin clips and timeline elements can be cut or copied to the clipboard of
the operating system and afterwards pasted again at the location of
your choice. Further information about this can be found in section
“Cutting, Copying or Pasting Clips” on page 4-18.
4
5
6
6.4.4 Adding Clips of a Certain Length to the Timeline
7
If you want to fill a gap in the timeline or fill a particular part of the
timeline with other video or audio material, you can add a clip to the
timeline with the help of the timeline’s in- and outpoint (3-point and 4point editing). This will then fill the selected, particular part of the timeline.
To add a clip of a certain length to a particular part of the timeline perform the following:
y Move the timeline cursor to the position on the timeline where the
clip to be added should start (see also section “Moving within the
Timeline” on page 6-29).
y Click the inpoint button of the timeline area (
).
This will set the inpoint of the timeline to the current position of the
timeline cursor.
6-41
8
9
A
I