1
CLIPSTER Edit Tool User Guide
4.1 Changing the Size of the Tool Area
Some tools may not be shown in full, i.e. with all items or information
displayed in the currently visible area of the tool area. To get a better
view on the individual tools or make items visible that are otherwise
hidden you can change the size of the tool area.
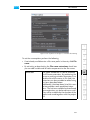
For this perform the following:
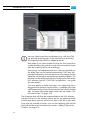
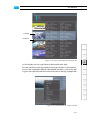
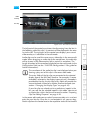
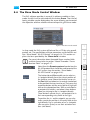
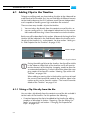
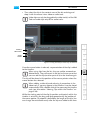
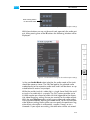
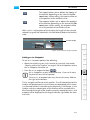
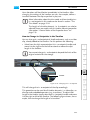
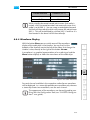
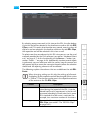
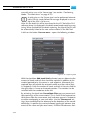
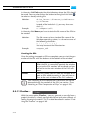
y Move the outer right edge of the tool area to the left or to the right
with the mouse.
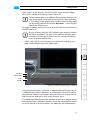
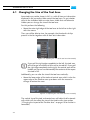
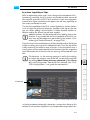
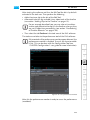
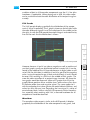
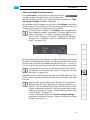
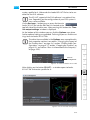
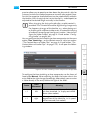
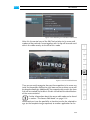
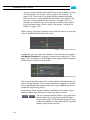
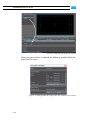
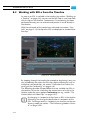
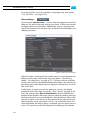
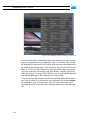
Then you will be able to view, for example, the thumbnails of clips
present in the bin together with all their text information.
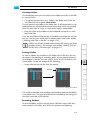
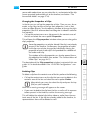
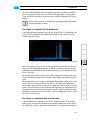
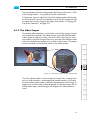
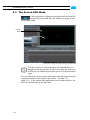
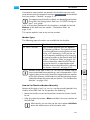
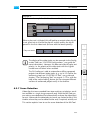
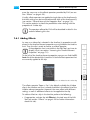
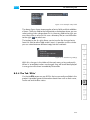
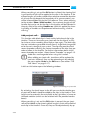
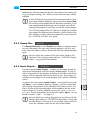
Figure 4-2: Adjusting the size of the tool area horizontally
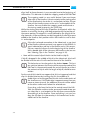
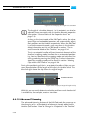
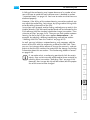
If you pull the right edge completely to the left, the tool area
will no longer be visible and thus can be turned off. If you pull
the right edge completely to the right, the control area will be
hidden and you can see horizontally the contents of the respective tool in full.
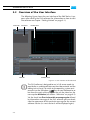
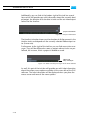
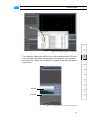
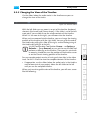
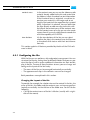
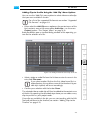
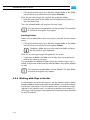
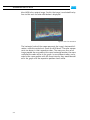
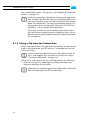
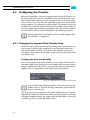
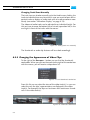
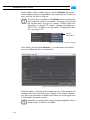
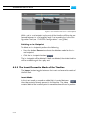
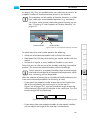
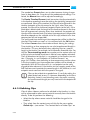
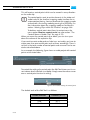
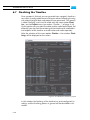
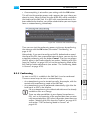
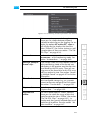
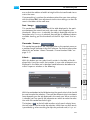
Additionally, you can alter the size of the tool area vertically:
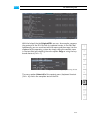
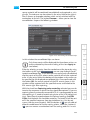
y Move the lower edge of the tool and control area which is also the
upper edge of the timeline area up or down with the mouse to
enlarge or reduce the areas.
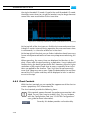
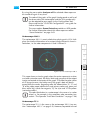
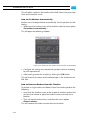
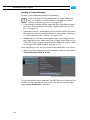
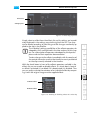
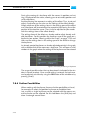
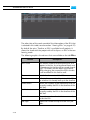
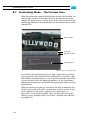
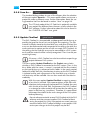
Figure 4-3: Adjusting the size of the tool area vertically
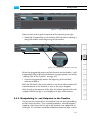
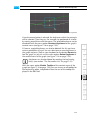
The vertical size of the tool and control area will adjust itself automatically which will also affect the size of the timeline area (see section
“Changing the Layout of the Timeline Area” on page 6-6 for further information).
4-2