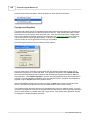
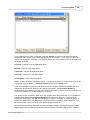
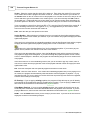
1
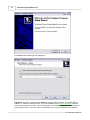
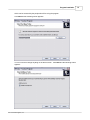
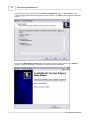
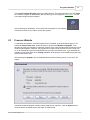
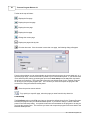
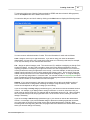
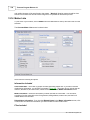
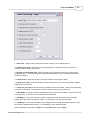
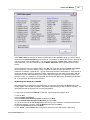
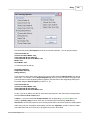
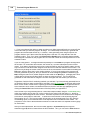
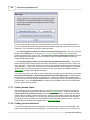
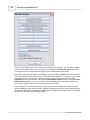
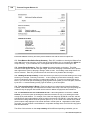
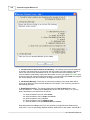
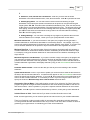
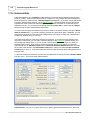
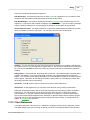
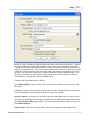
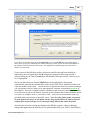
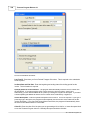
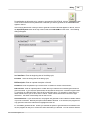
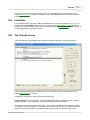
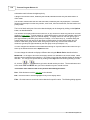
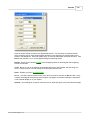
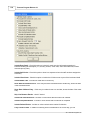
12
Tussman Program Release 10
If you are creating a new installation, the program should be installed in a separate folder on your
computer. The Setup Wizard asks you for the Destination Location during the installation
procedure. The default folder is c:\tp9, but you can change it if necessary. If you are installing the
program on a network, you only need to install it once on the server, or, if you do not have a server, on
one of the computers on the network, and then create a shortcut to the program on each of the
workstations that will be accessing the program. Do not install the program itself on each workstation
as that will simply create completely separate copies of the program.
Note that when creating a shortcut for the program you must fill in both the Target and Start In spaces
in the main Shortcut properties screen. To check this, right click on the Tussman Program shortcut on
your desktop, then left click on Properties. What appears in the Start In space should be exactly the
same as appears in the Target space, but leaving off the part that reads /tp7.exe. For example, if
Target reads C:\tp9\tp7.exe, then Start In should read C:\tp9.
Installing as an Upgrade
If you are installing the program as an upgrade, either to an older version of Release 11, or to
Releases 6 through 10 of the program, the upgrade must be installed into the same folder where your
existing copy of the program is located. You can install Release 11 as an upgrade for versions 6
through 10 without having to perform a data conversion. Release 4 and prior versions of the program
will require a data conversion before the upgrade to Release 11 can be performed. When performing
an upgrade from Release 6 or higher, it is not necessary to install intermediate upgrades; i.e, each
upgrade is cumulative, so you only need to install the most recent upgrade in order to fully update the
program. As long as you follow the appropriate instructions, installing the program into the same folder
as an existing copy of the program will not erase or overwrite any of your existing data, but will only
update the appropriate program files. Since we update the program frequently, you should periodically
check our website to see if a newer version is available for download.
Note that the name of the Tussman Program executable file is TP7.EXE (even though the version
number is Release 11). This was done so that existing customers can upgrade from prior versions
without having to modify any of their existing program shortcuts.
After installing the program, read the program overview section, the section that describes the
user interface and the getting started section. You will then be ready to begin entering clients and
matters, recording time, and generating bills.
Program Display Problems and Options
Following are the most common problems you might encounter with the program's display:
1. Icons on the Toolbar and Control Panel are not appearing - This means you left the Start In
space blank in the Tussman shortcut on your desktop. See above for further information.
2. Column Headings on Browses do not appear - This means you are using the Windows Classic
Theme. To fix this switch to the Windows XP theme (or another theme of your choosing), by clicking
on the Start button on your Windows desktop, Control Panel, Display, and selecting the Theme you
want to use.
3. Screens in the Tussman Program do not fit within the confines of the monitor. Release 11
requires that the screen resolution on your monitor is set to at least 1024 by 768. Some older monitors
may still be set to 800 by 600, or you may have selected that setting so that text will appear larger and
more readable on the screen. Since Release 10 and higher you can select a larger font size for use by
Tussman (see 4 below) using a lower screen resolution should no longer be necessary. To change the
screen resolution setting on your monitor, click on the Windows Start button and select the Control
Panel. Then click on Display, Settings. With Windows 7, go to the Control Panel and under the
Appearance and Personalization section select Adjust screen resolution. Then slide the Screen
Resolution tab to the appropriate setting.
2011 Tussman Programs, Inc.